Are you seeking a cost-effective, long-lasting solution for your worn-out or damaged roof? Perma Coat roof coating might be just the thing you need! This high-quality roof coating system is designed to repair and protect all roofs, extending their lifespan and increasing their durability.
If you’re considering using Perma Coat roof coating for your roof, read on! In this comprehensive guide, we’ll explain how to recoat your roof with Perma Coat Roof Coating in easy-to-follow steps. We’ll cover everything from materials needed to preparation tips and more. So let’s get started!
What is Perma Coat Roof Coating?
Perma Coat is a 100% acrylic elastomeric roof coating engineered with advanced weathering technology. Unlike other roof coatings, it maintains its physical properties even after prolonged exposure to UV light, making it ultra-durable.
It also creates a seamless membrane that prevents water infiltration, helping to reduce energy costs.
It has reflective properties that deflect heat and harmful UV rays, ultimately lowering energy bills and protecting the roof substrate. It also has elastic properties that form a rubber-like shield that expands and contracts by more than 450% to prevent cracking and slow the aging process.
With Perma Coat, you can be confident that your roof will stay in optimal condition for years while providing energy savings and peace of mind.
Why Recoating is Better Than Roof Replacement
Maintaining your roof is essential to ensuring your property’s longevity and protection. When choosing between recoating or roof replacement, there are several reasons why recoating with acrylic roof coatings is the better option.
Here are five reasons why recoating is a better alternative to roof replacement:
- Saves You Money: Roof replacement can be an expensive endeavor. Recoating your roof with acrylic coatings is a cost-effective solution that protects against harsh weather conditions, UV rays, and other environmental factors.By choosing to recoat your roof, you can extend the life of your roof, ultimately saving you money in the long run.
- Extends the Life of Your Roof: Perma acrylic roof coatings protect against roof leaks and wear and tear.Recoating your roof provides additional protection, making it more resilient to harsh weather conditions and UV rays. This extra layer of protection can help extend the life of your roof
- Environmentally Friendly: Recoating your roof with acrylic coatings is an environmentally friendly option compared to roof replacement. Roof replacement creates a significant amount of waste that ends up in landfills.On the other hand, Recoating significantly reduces waste, making it a more sustainable choice for the environment.
- Quick and Easy Maintenance: Recoating your roof is much quicker and less disruptive than replacement. Roof replacement can take weeks, causing significant disruptions to your daily life or business operations.However, recoating your roof with acrylic coatings can be completed in a few days with minimal disruption. (see proper roof maintenance)
- Suitable for Most Roof Surfaces: Roof coatings suit most roof surfaces, including metal roofs. They provide excellent protection against UV rays and weather conditions, preventing roof leaks and other issues.
Signs the You Need to Repair Your Roof By Recoating
Before investing in Perma Coat or roof coating systems, ensuring your roof needs to be repaired is essential. Here are some signs that you should look out for:
- Uneven surface or bumps in the roof
- Cracks split, or holes in the roof
- Rust or corrosion on the roof
- A discolored, faded look to the roof
- Roof leaks
- Molds and mildew
Stey-by-Step Guide to Recoating Your Roof
If you notice these signs, your roof must be recoated with Perma Coat Roof Coating. Follow these steps for a successful job:
Step 1: Prepare Your Tools
Before you start recoating your roof, ensure you have the right materials. For an effective and problem-free recoat job, you’ll need the following tools and materials:
- Perma Coat Roof Coating
- A brush or roller to apply the coating
- A scraper to remove old or flaking coatings
- An airless sprayer (optional)
- Pressure washer
- Mild detergent
- Masking tape
- Roller frame, paddle mixer
Surface Preparation
Once you’ve got your tools and materials, you can prepare your roof for recoating. First, inspect the roof for any signs of damage or wear. Check for water damage or leaks and ensure the roof is clean and dry. Do not skip this step, as it will let you see the parts that need to be repaired.
Clean the Roof
After you’ve completed the assessment of your roof, the next step is to clean it thoroughly. Cleaning involves removing any dirt or debris from the roofing surface.
This includes chalked coating, grease, and other particles that may have built up from nearby exhausts. You can use a pressure washer, mild detergent, and scrub brush for hand cleaning. You can also use a scraper to flake old coatings that may be present.
Testing for Adhesion
After you’ve completed the cleaning process, it’s time to test for adhesion. This is an essential step ensuring that the new roof coating will bond with the existing material.
You can use masking tape and place it on various roof areas, then remove it and see if any residue stays on your finger or comes off in flakes. Also, if the tape adheres well and does not come off when you pull it, you can go ahead with the recoating.
Applying Perma Coat Roof Coating
Now that your roof is prepared and ready for coating, it’s time to apply the Perma Coat Roof Coating product. Before applying the coat, mix it evenly with a roller frame or paddle mixer. It is recommended to be careful not to expose it to air because it can harden quickly.
Depending on your preference and what type of surface you are coating, you can use a roller with a 3/4 – 1 1/4″ nap brush for the application process.
If you have an airless sprayer capable of 2000-3000 PSI and 1-3 GPM of output, you can also use it to apply the coating uniformly. Once done, allow the coating to dry for 24 hours before you can walk on your roof.
Important: It is recommended that Perma- Coatings are applied at a minimum rate of 1 – 1 1/2 gallons per 100 square feet of roof surface per coat.
Applying the Second Coat
After the first coat has dried, you can move on and apply the second coat similarly. When applying the second coat, it’s essential to apply it perpendicular to the first coat, using a cross-hatch application.
By following these guidelines, you can ensure the best possible protection and durability for your roof.
Tips to Successfully Recoat Your Roof
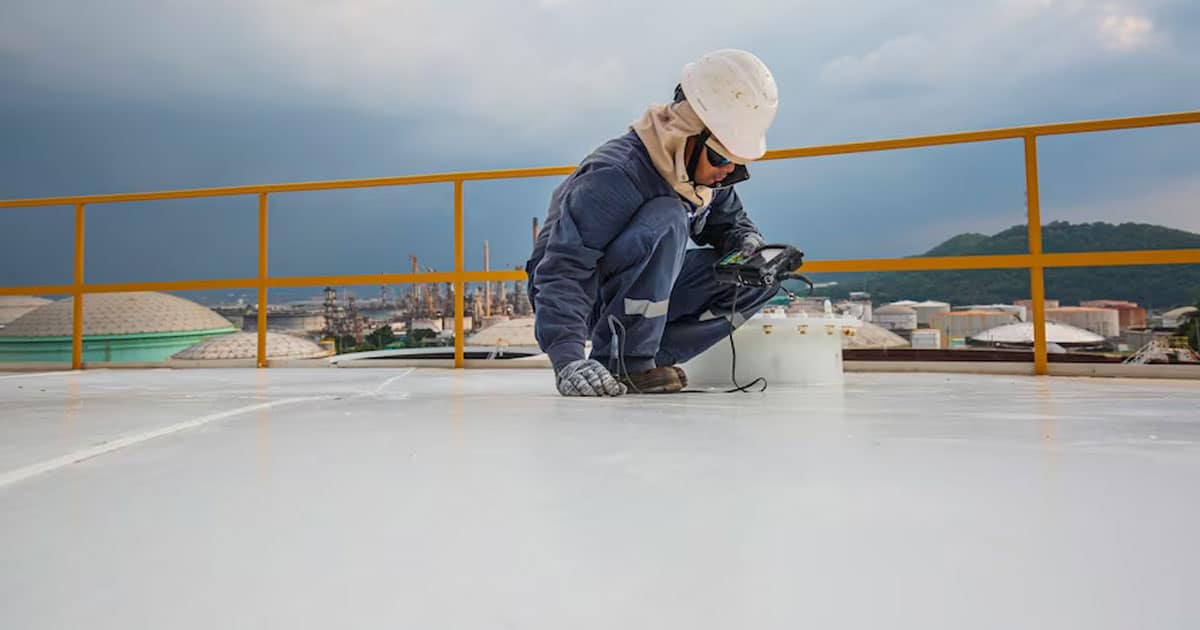
- Wear protective gear, such as gloves and eye protection, when applying the coating.
- Prepare the necessary tools and measure the surface to get accurate estimates of the product you need.
- If you’re using an airless sprayer, ensure you are properly trained before applying the coating.
- Inspect your roof for any signs of damage before beginning the recoating process.
- Clean and prepare the surface before applying the coating, ensuring it is free of dirt, debris, and other particles.
Test for adhesion before applying the coating to ensure optimal results.
Conclusion
Recoating your roof with Perma Coat Roof Coating is not only a great way to extend the life of your roof and protect it from the elements, but it can also add to its aesthetic appeal.
Following the steps outlined above and taking the necessary precautions, you can successfully recoat your roof and ensure it remains in great shape for years.
If you need high-quality elastomeric roof coatings, don’t hesitate to contact us today! At Everlast Coatings, we offer the best Perma and elastomeric roof coatings to help you achieve optimal results. Contact us today to find out more.